The unique crafting process Shui Horsetail embroidery can be divided into six distinct steps.
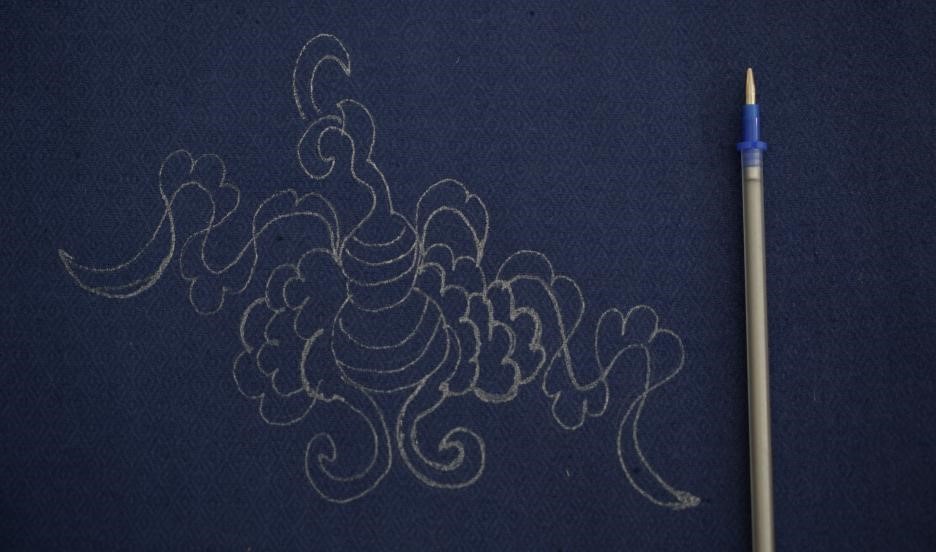
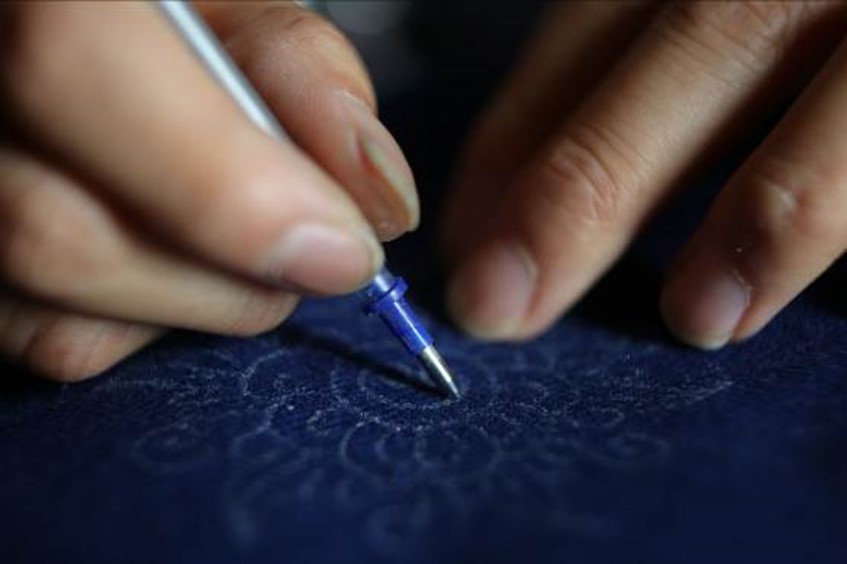
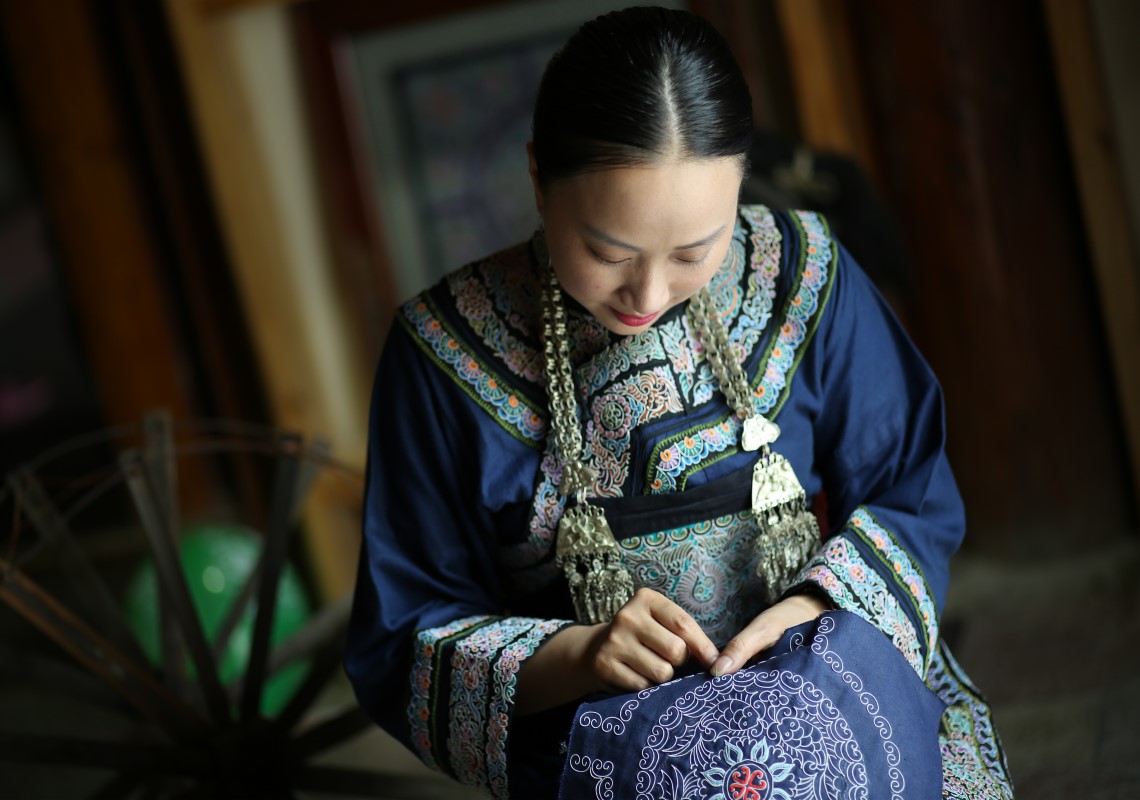
Step 1 drawing the patterns
Draw embroidery patterns on the cloth.
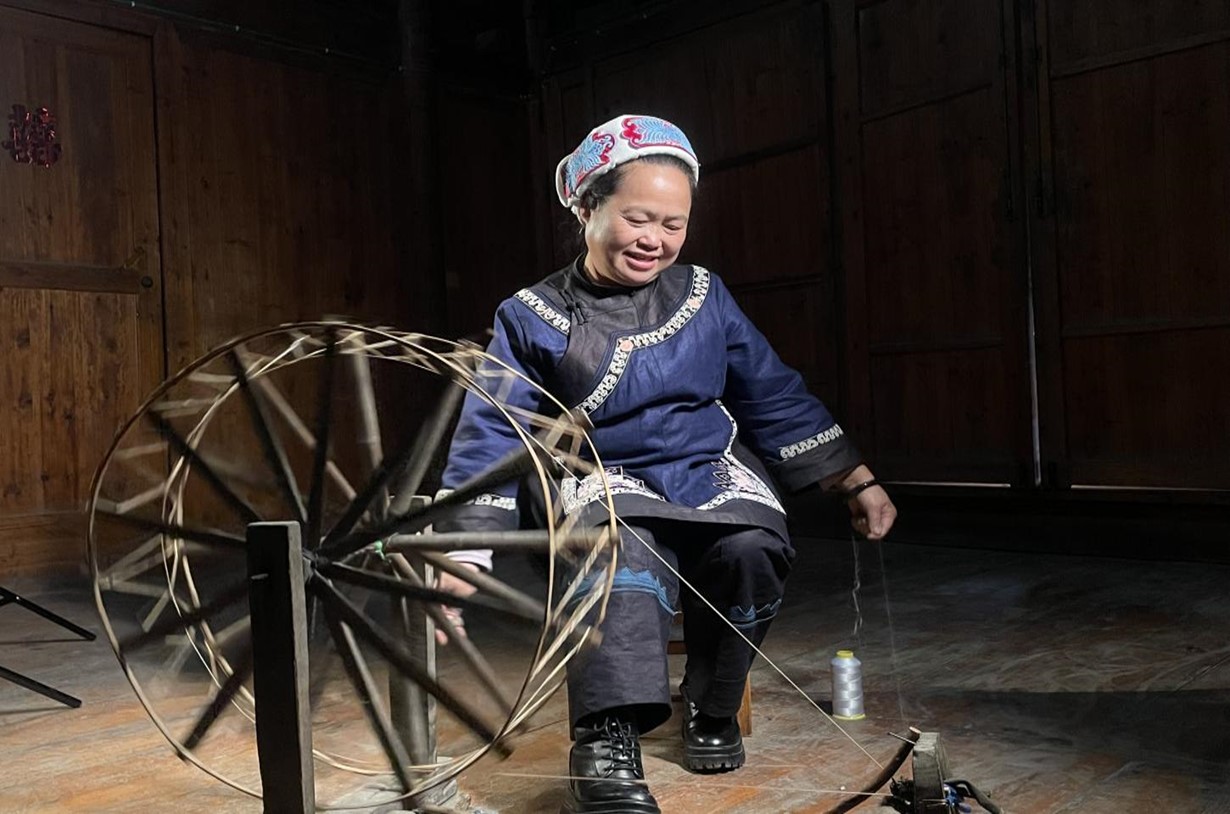
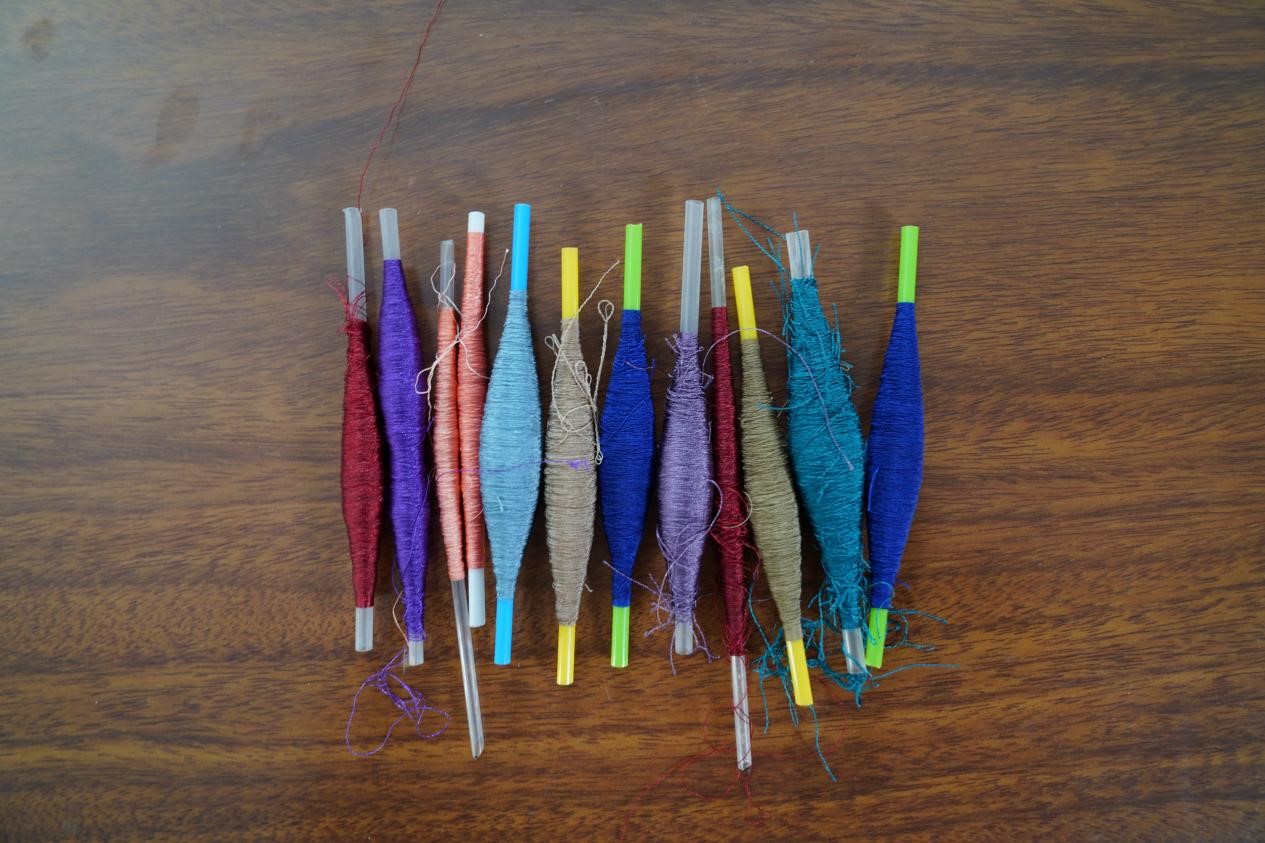
Step 2 Spinning the yarns
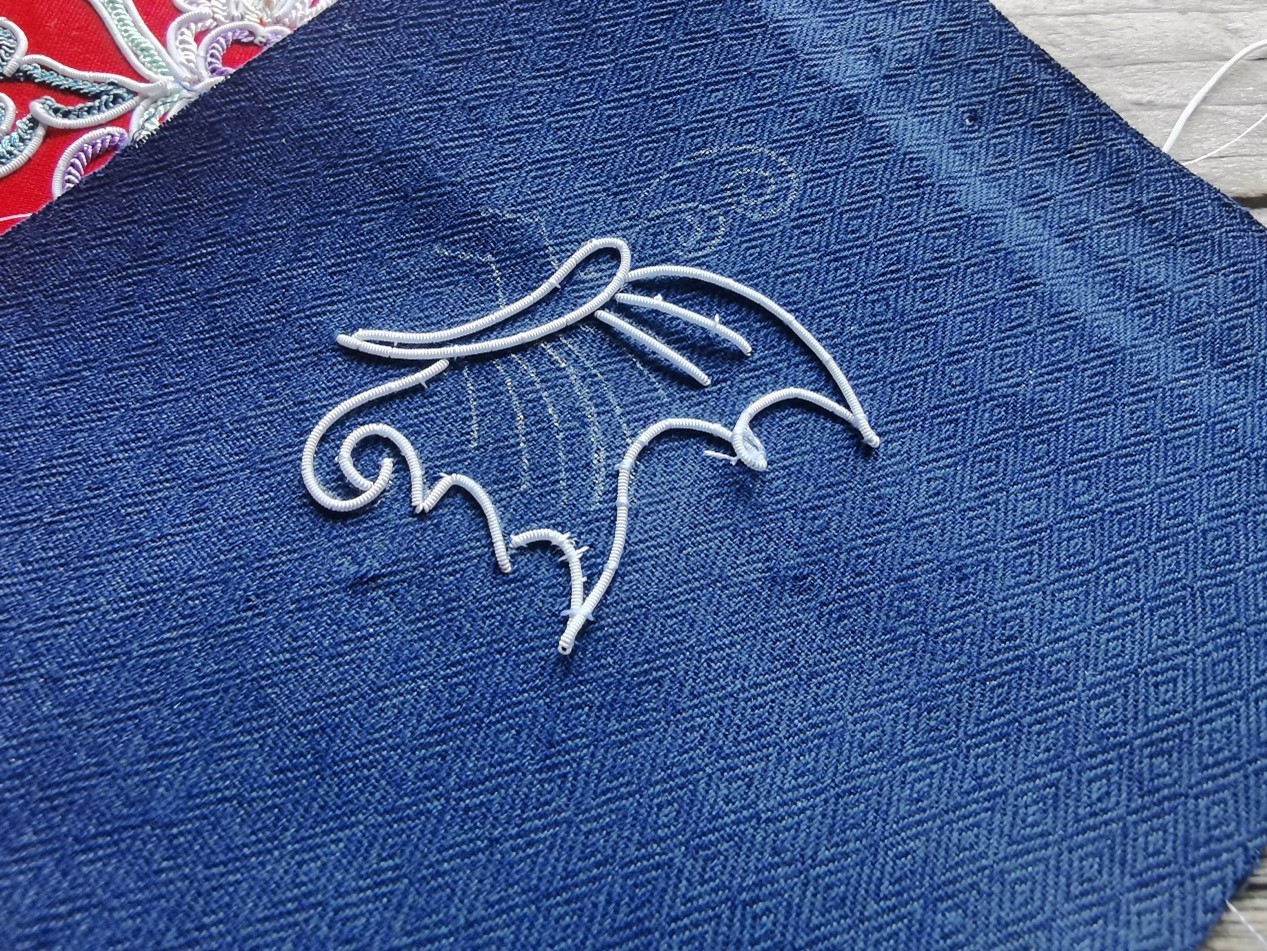
Step 3 making horsetail threads
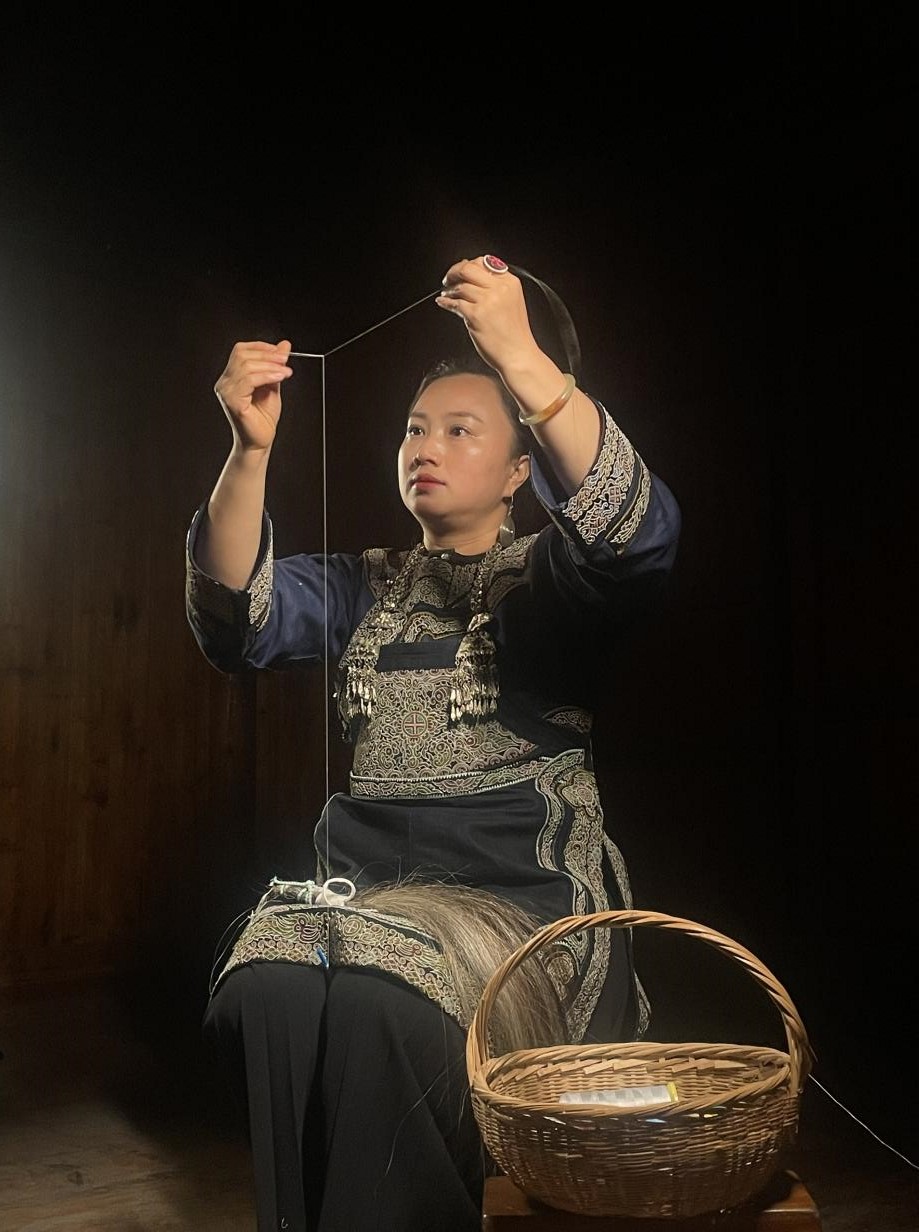
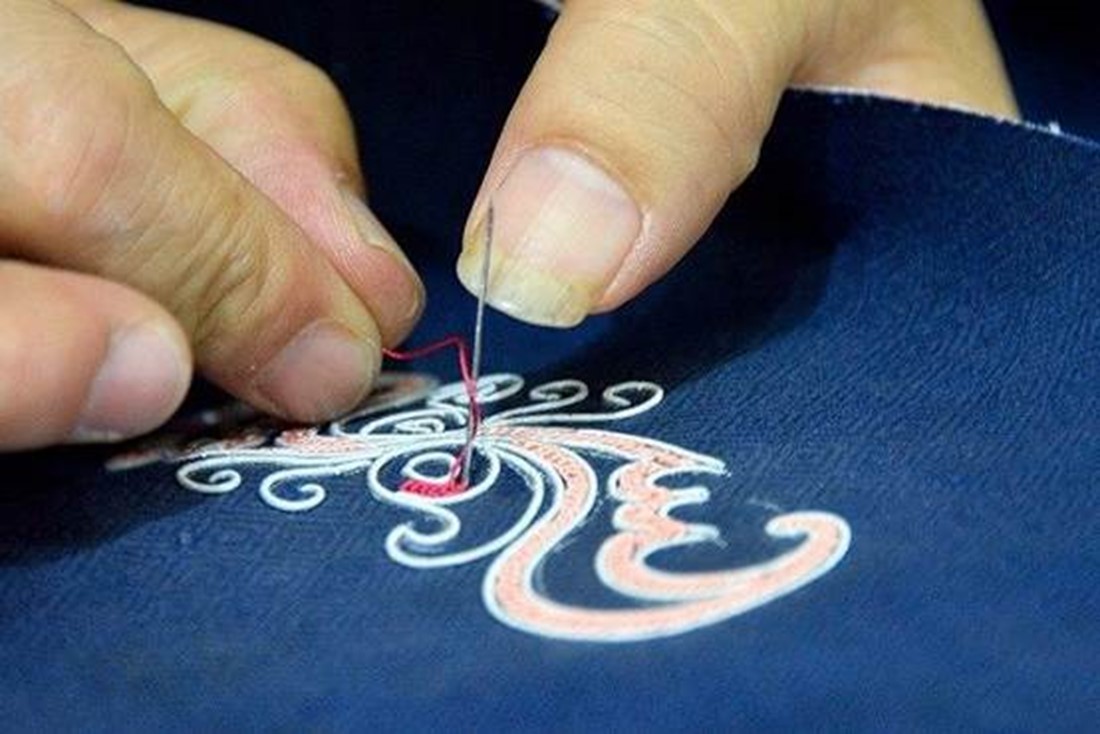
Step 4 fixing the horsetail threads
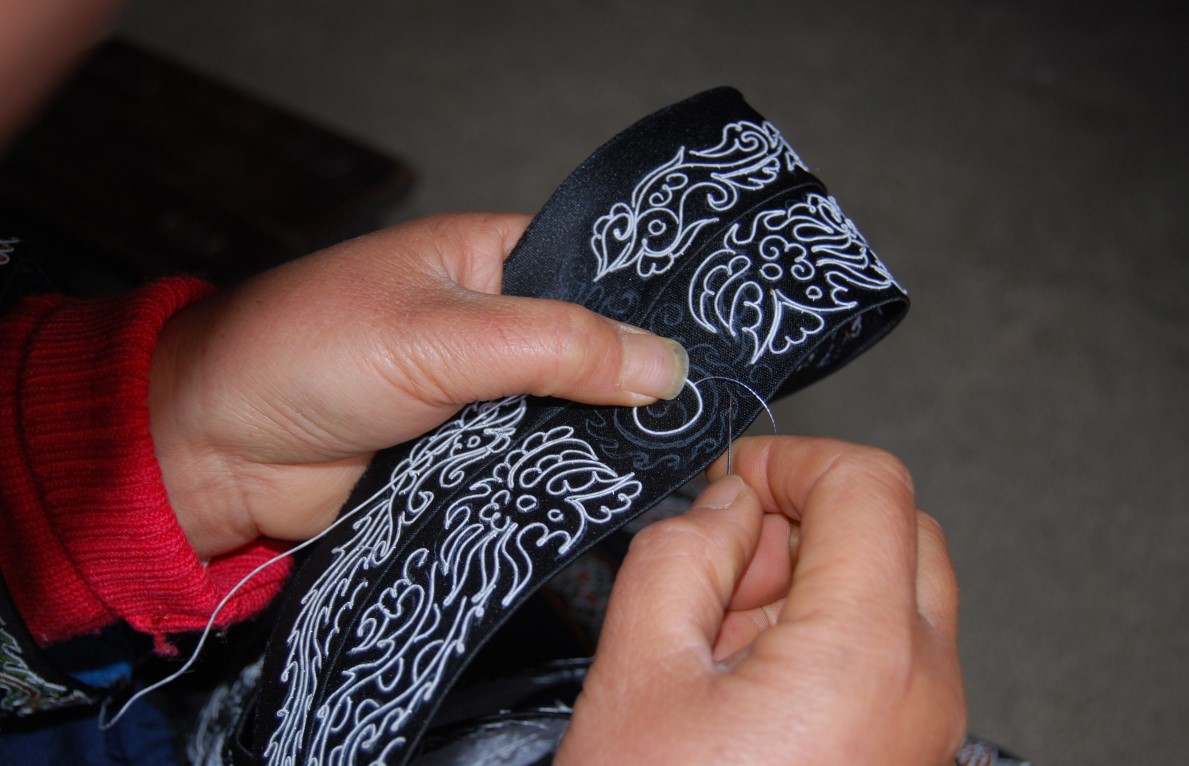
Step 5 filling the gap
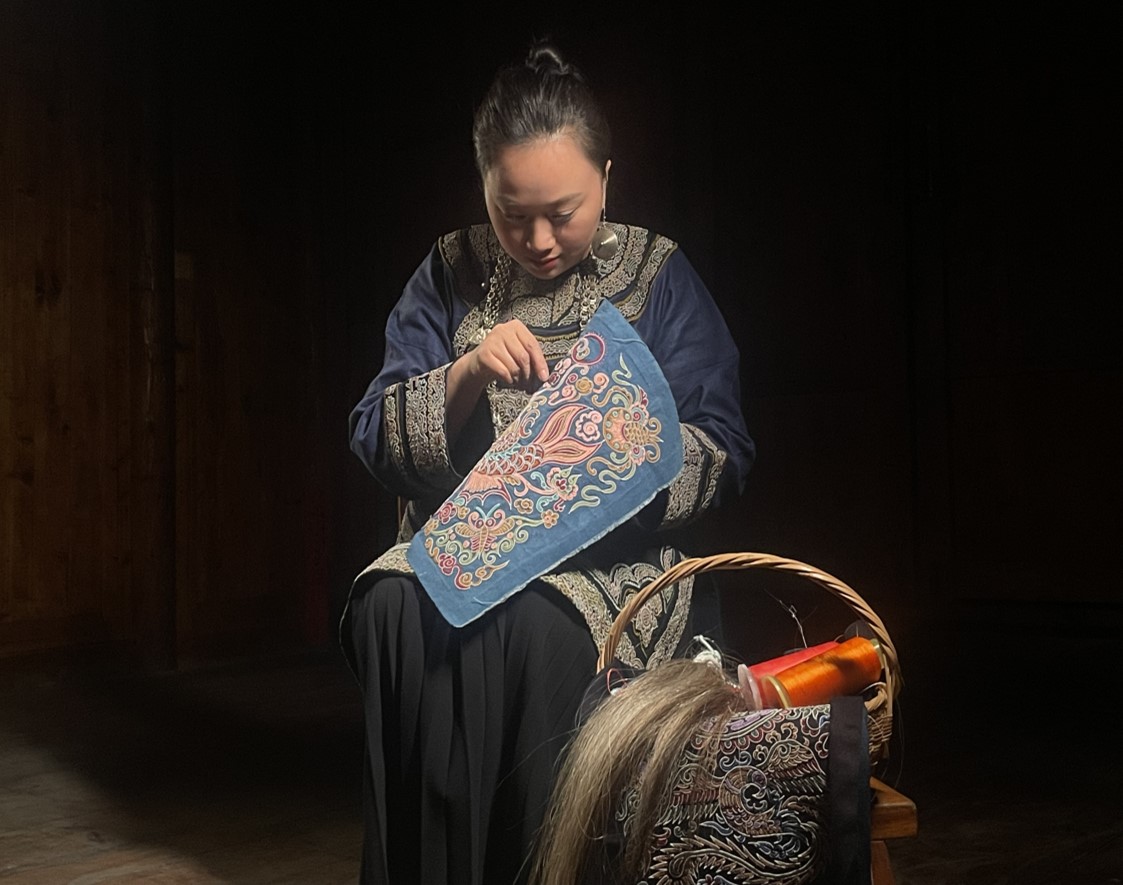
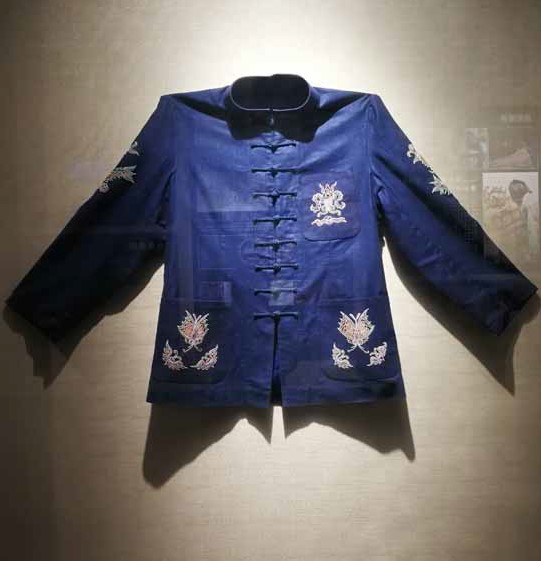
Step 6 embellishing and connecting embroidery pieces with copper plates
A Horsetail embroidery usually comprises many small pieces of embroideries. Shimmering copper plates are used to embellish and connect these embroidery pieces, since the people of Shui ethic group believe that copper possesses the magical power to expel evil spirits. The shinning copper plates reflects the genuine cultural beliefs of the Shui people.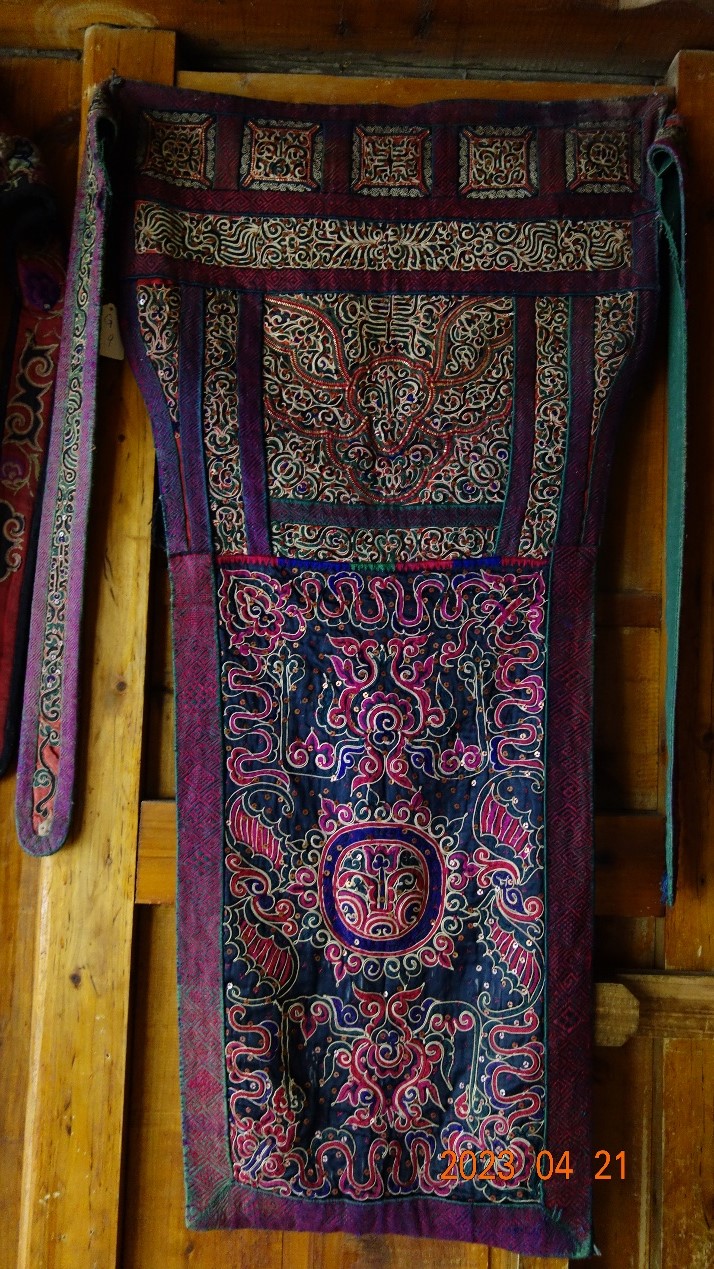
Embroidery techniques used to fill the gap of the pattern
When filling the gap of the embroidery patterns, the following are the most commonly used techniques
1 Braided Stitch(click to watch the video)
Press a small section of yarn onto the fabric surface, insert the needle from below the yarn, wrap it around to the top, and then make a knot to secure the yarn to the fabric. Continue to press another small section of yarn in accordance with the shape of the embroidery pattern and repeat the above process. Repeat this process until the embroidery pattern is filled. This technique is similar to how girls braid their hair, and its product resembles the texture of braids.
2 Satin Stitch(click to watch the video)
This stitching technique is commonly used for joining embroidered pieces. The first stitch goes in the opposite direction, the second stitch goes in beside the hole left by the first stitch, and the third stitch goes in beside the hole left by the second stitch. And like this the process repeats itself on and on until the embroidery pattern is filled. It leaves a fine, durable, satin-like texture.
3 Flat Stitch(click to watch the video)
Affix a paper template in the shape of the embroidery pattern onto the fabric. Start stitching along the edges of the template, going back and forth with the needle until the entire template is covered by yarn. This technique creates a thin and smooth edge, while the central part appears round and thick, enabling a smooth and even texture for the embroidery.
4 Coiled Stitch(click to watch the video)
Take 5 to 6 strands of yarn and thread them through a large needle. Tie a knot at the end of these yarn strands and hold the tail end of the knot with the left hand. Hold the needle with your right hand and rotate the yarn strands inward, twisting them into a coiled thread. Then straighten the coiled thread to form a thicker strand. Start stitching by inserting the large needle threaded with the thick strand from the back of the fabric. Then, take a small needle, insert it near the large needle and have the thread of the large needle wrap clockwise around the small needle, anchoring it to the fabric. Then pull the thread of the small needle back into the loop created by the large needle. Repeat this process to create a layered and overlapping effect.
5 Knot Stitch(click to watch the video)
Wrap the yarn around the needle two to three times and then make a knot in the shape of grains. Then, insert the needle and secure the knot on the fabric. Next, insert the needle next to the knot and repeat the process, arranging the knots tightly and evenly until the embroidered pattern is filled. The knots created are full and shares an orderly beauty, giving the finished product a relief-like effect and at the same time making it sturdy and durable.